Introduction
I have been planning to build a PC for more than a year now (with the intention that I’ll get back to gaming) but never really started with it despite doing a ton of research about the parts, binging Linus Tech Tips ↗️ videos and more.
Eventually, my excitement got shifted from “building a PC for gaming” to “building a Home Lab server”.
I started watching more and more videos around the Home Lab topic, some of it was to learn how to get started with building home labs but mostly it was watching someone building an insane Home Lab with tons and tons of hardware and stuff going around that I never really understood but it was fun to watch it.
Later I started searching for Raspberry Pi to get started but was unable to get hold of it because of the global semi-conductor shortage ↗️. Luckily I came across a video where the creator mentioned ↗️ and also a good friend of mine gave me this idea of…
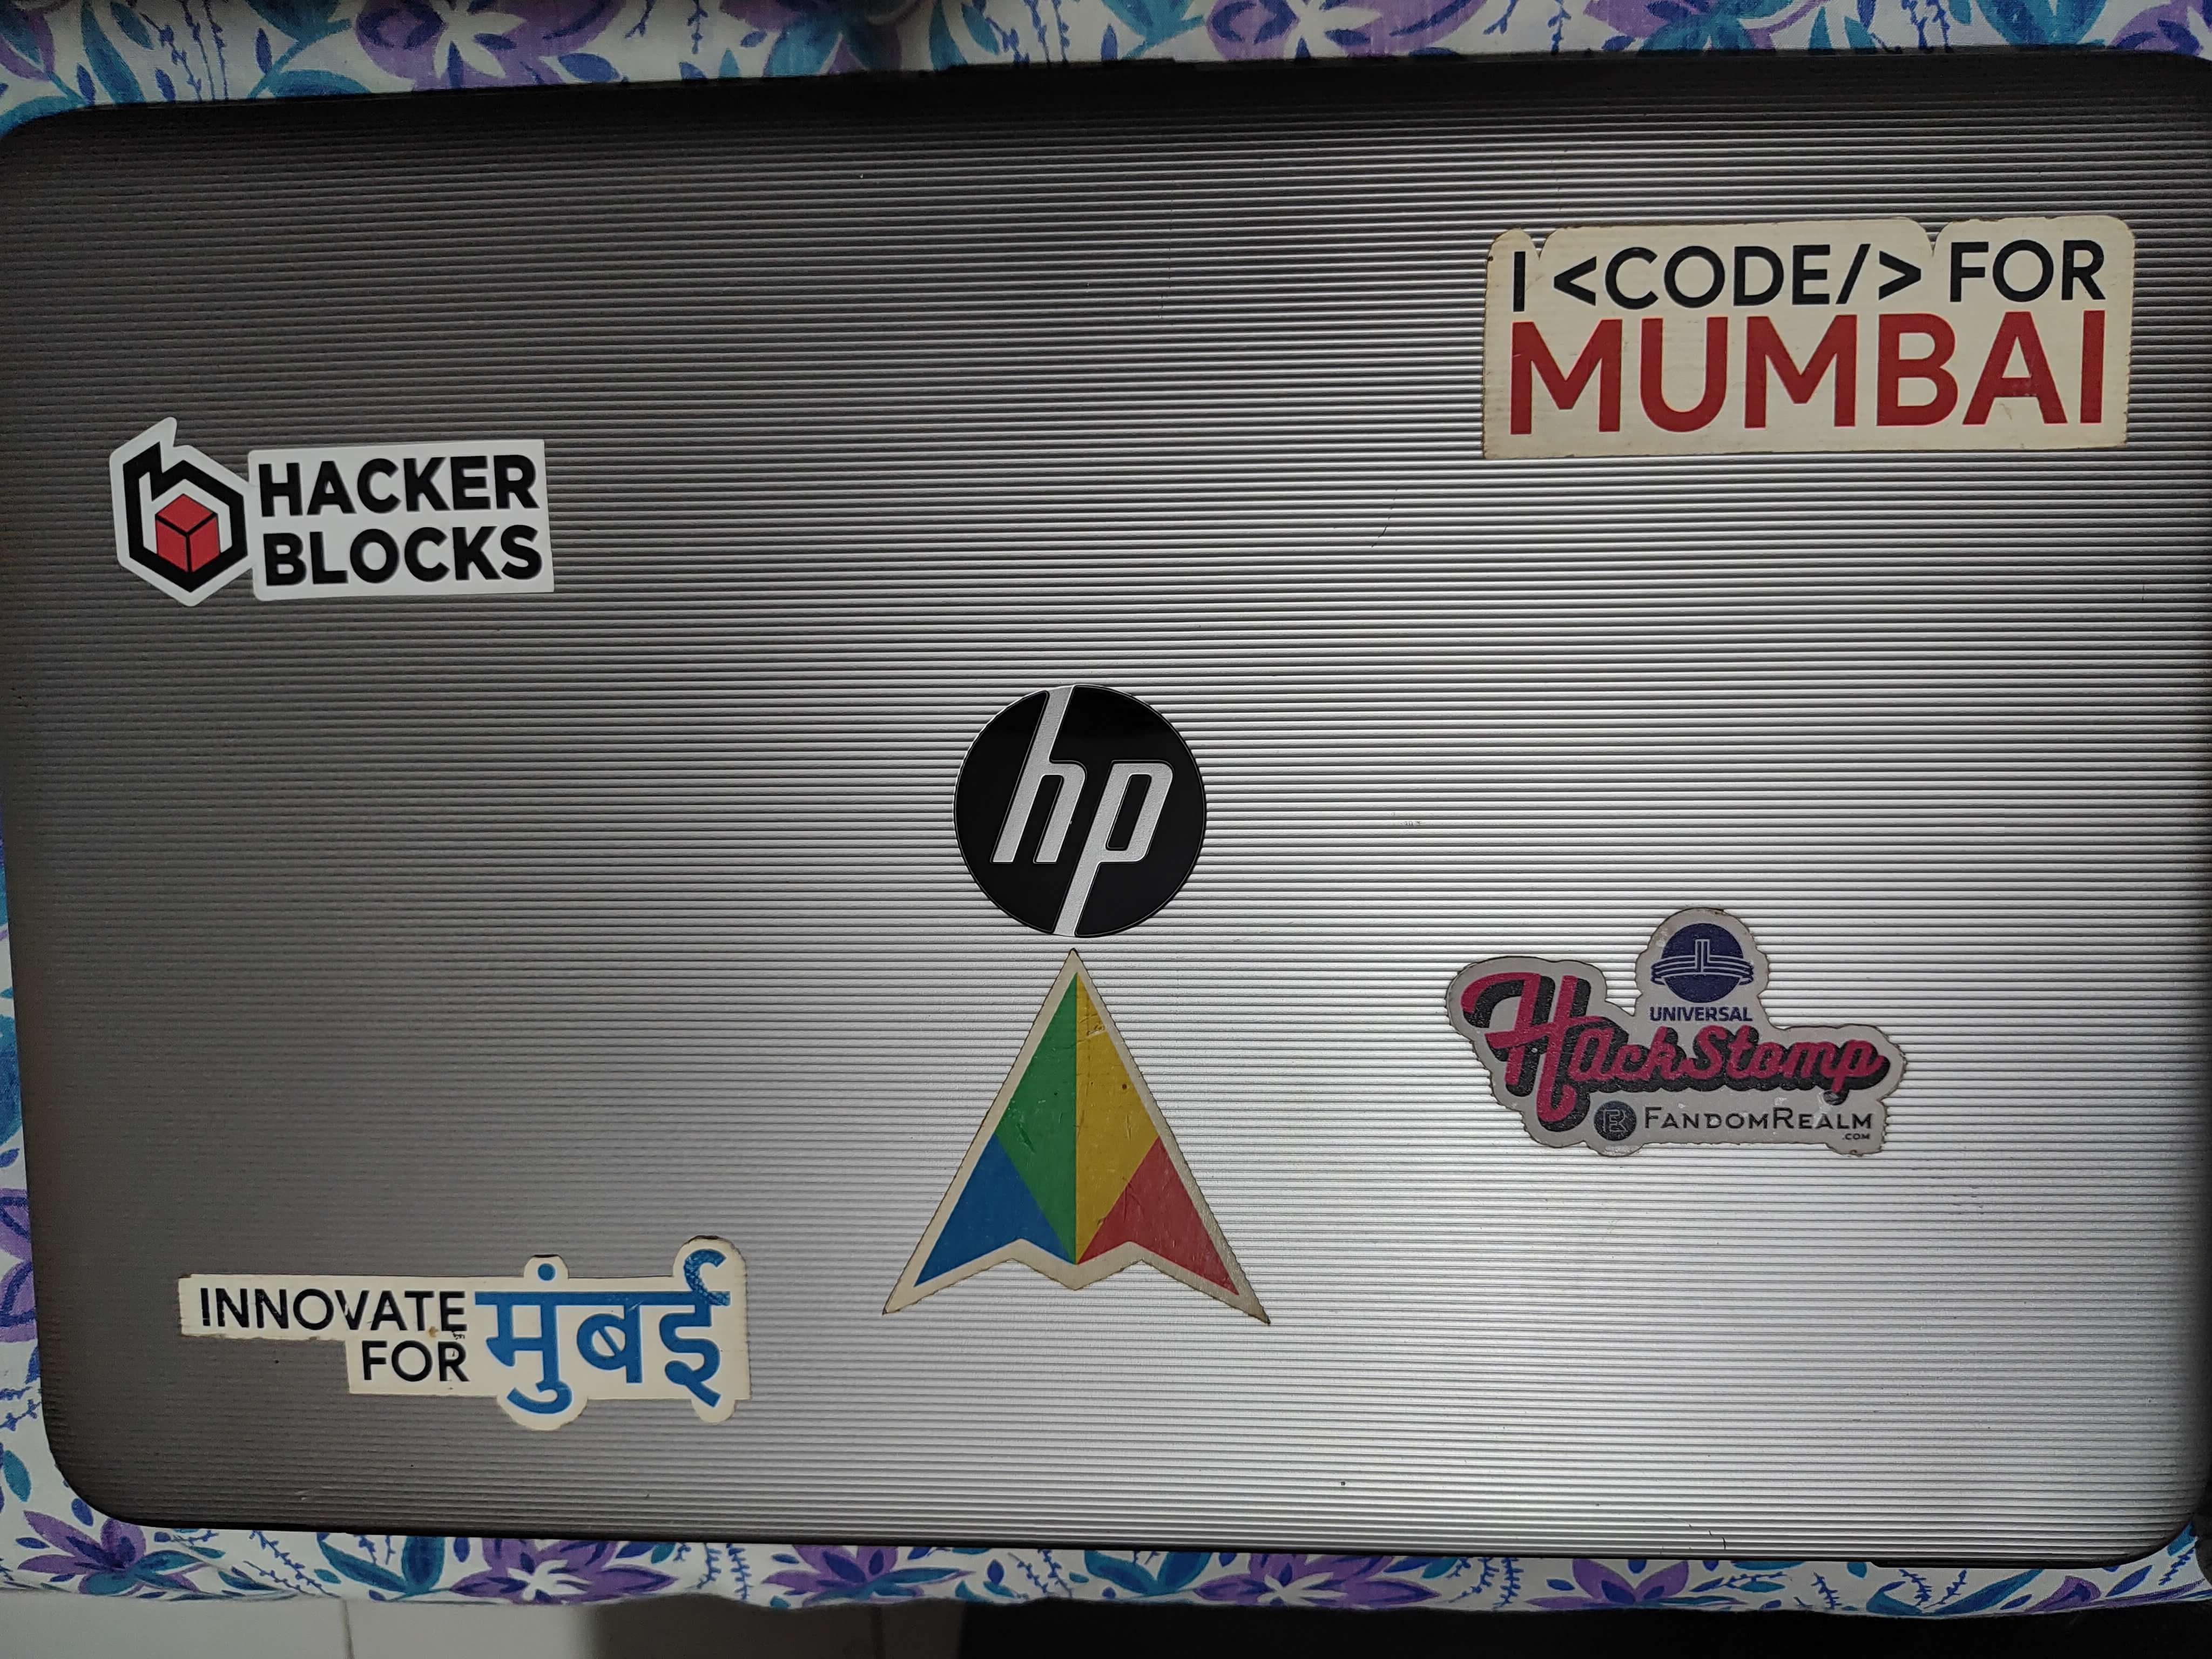
Laptops make great starting server
This reminded me of my first laptop which I haven’t used in a long time, although it does not have great specs so I have been hopping between multiple Linux distro’s to find a lightweight version where it can survive so that the 1TB hard drive where I have stored some data is safe and accessible (which I have hardly ever tried to access in years).
So instead of waiting to get a hold of a Raspberry Pi, I decided to convert this laptop to my first Home Lab.
Old Laptop as Home Lab
Let’s start with the Tech specs of the Laptop.
| Spec | Value |
|---|---|
| Microprocessor | AMD Quad-Core A8-7410 APU (2.2 GHz, up to 2.5 GHz, 2 MB cache) |
| Memory | 4 GB DDR3L-1600 SDRAM (1 x 4 GB) |
| Video graphics | AMD Radeon™ R5 M430 Graphics (2 GB DDR3 dedicated) |
| Hard drive | 1 TB 5400 rpm SATA |
| Network interface | Integrated 10/100 BASE-T Ethernet LAN |
| Wireless connectivity | 802.11b/g/n (1x1) and Bluetooth® 4.0 combo |
As seen, the specs are pretty basic but it works fine even today so I’m pretty happy to have been starting with it around 6 years back.
The latest OS that was running on it was MX Linux ↗️. So the first thing I wanted to do was clean up the existing stuff which I don’t see myself using anymore on the disk and re-configure the disk partitions and then change the OS.
Between Ubuntu Server ↗️ and Debian Server ↗️ I went ahead with Debian for the OS and picked the small installation image ↗️ and flashed it on a USB stick.
I had some drives on the hard disk where I wanted to keep the existing data so for that I also flashed GParted Live ↗️ on another USB stick to clean up the existing partitions properly from the current OS (including the root partition) and created new partitions for the Debian Server. Once this was done, I installed the Debian Server on the laptop.
Apart from the old laptop, I had a spare Android device (Redmi Note 10 Pro ↗️) which I was not using anymore so I decided to convert that into a mini server as well. Follow this guide if you want to do the same for any spare device you have lying around.
Setting up Debian Server
Since I picked the minimal image, there were little to no pre-installed packages, so it was fun to set up the Debian server from the ground up.
First I started with installing sudo (since even this was not pre-installed on the server) and then did the basic Linux admin stuff which is to have a non-root user and add it to the sudoers group.
Then I installed some basic packages that I will require most of the time which are curl, wget, git, etc.
Next, the most important thing was to set up SSH on the server and allow connecting from my other laptop to it via SSH so I can shut the lid of the server laptop and operate on it from my other laptop through SSH. After setting up basic SSH and verifying it, I also did some security changes like disabling root login and disabling password login as well as only allowing login via public key.
You can follow this guide for setting up ssh on your server with best security practices
The intent layer for B2B outbound

CatchIntent spots real buying signals on LinkedIn and gives you a short daily list of in-market buyers, scored and with the opener drafted. You just send.
What’s next?
I am a newbie in this world so it makes me more excited to know that there is lots of learning waiting for me on this journey.
My goal for 2023 is to explore more about Home Labs, make and break the server and learn new things during the whole process. I also want to spend more time learning about Networking and Security practices of building and maintaining a Server.
Eventually, I will improve the Hardware perspective of the Home lab as well by introducing new machines, Raspberry Pi as well as if needed will upgrade the specs for the Laptop server by increasing the RAM and swapping out the HDD with SDD and converting the HDD to external Hard drive that I can use for learning how to setup NAS etc but for now, it seems like a good starting point for me to get back to exploring the wonders of Linux and Servers.
Another goal is to document all these things in a form on blogs on this site so I can refer to and retrospect myself at the end of 2023 about this journey. Right now I have a few services which are up and running on the server and I am in the process of documenting those as well.
I am being more active on the r/homelab ↗️ and r/minilab ↗️ communities to learn from far more experienced people in this field, if you are someone like me and want to tag along then shoot me a message on Reddit ↗️ / Twitter ↗️ wherever you are comfortable
It does not mean that this is the only thing I’ll be focusing on, there are some other goals as well that I have planned for this year around software development but frankly, Home Lab is the one I’m most excited about.
Looking forward to publishing more about the same. See you in another one 👋