Introduction
Welcome to another post in the series of self-hosted applications in my homelab. In this post, I will be talking about Jellyfin ↗️, a free and open-source media server software. Jellyfin is the perfect solution for streaming your media collection to all your devices.
Over the years, I have collected a lot of movies, TV shows, and music, but I never had a good way to stream them to my devices since they all were residing on my old laptop. Being able to stream my media collection was one of the primary reasons why I got into self-hosting.
After trying out a few media server applications, I finally settled on Jellyfin. Jellyfin is a fork of Emby, another popular media server software. Jellyfin is free and open-source, and it has a lot of features that make it a great choice for self-hosting.
Pairing Jellyfin with the arr stack ↗️ and you have the perfect media streaming solution for your homelab. In this post, I will be talking about how I set up Jellyfin and the arr stack in my homelab.
What is Jellyfin?
As talked about earlier, Jellyfin ↗️ is a free and open-source media server software. It came into existence when Emby decided to go closed-source. Jellyfin is a fork of Emby which is actively maintained by the community and have rich set of features.
They have a demo server ↗️ running on their website, so you can try it out to get the taste of the software before deciding to install it on your server.
As I talked in my new server blog, I have been running Jellyfin on a Orange Pi 5 Plus with hardware acceleration enabled.
Here’s the blog post where I talked about how to enable hardware acceleration in Jellyfin, hope you find it useful.
What is the arr stack?
Well this is the most exciting part in my opinion. Having a platform to stream your media is great, but what if you could automate the process of downloading the media and adding it to your library? This is where the arr stack ↗️ comes into play.
There are couple of applications in the arr stack, and most of them have a very similar interface and functionality so I will be talking about them together.
-
Sonarr ↗️: Sonarr is your personal PVR for TV shows. Based on various indexers you have configured, you can use them to search for any TV shows / series / animes and it will automatically download them as soon as they are available.
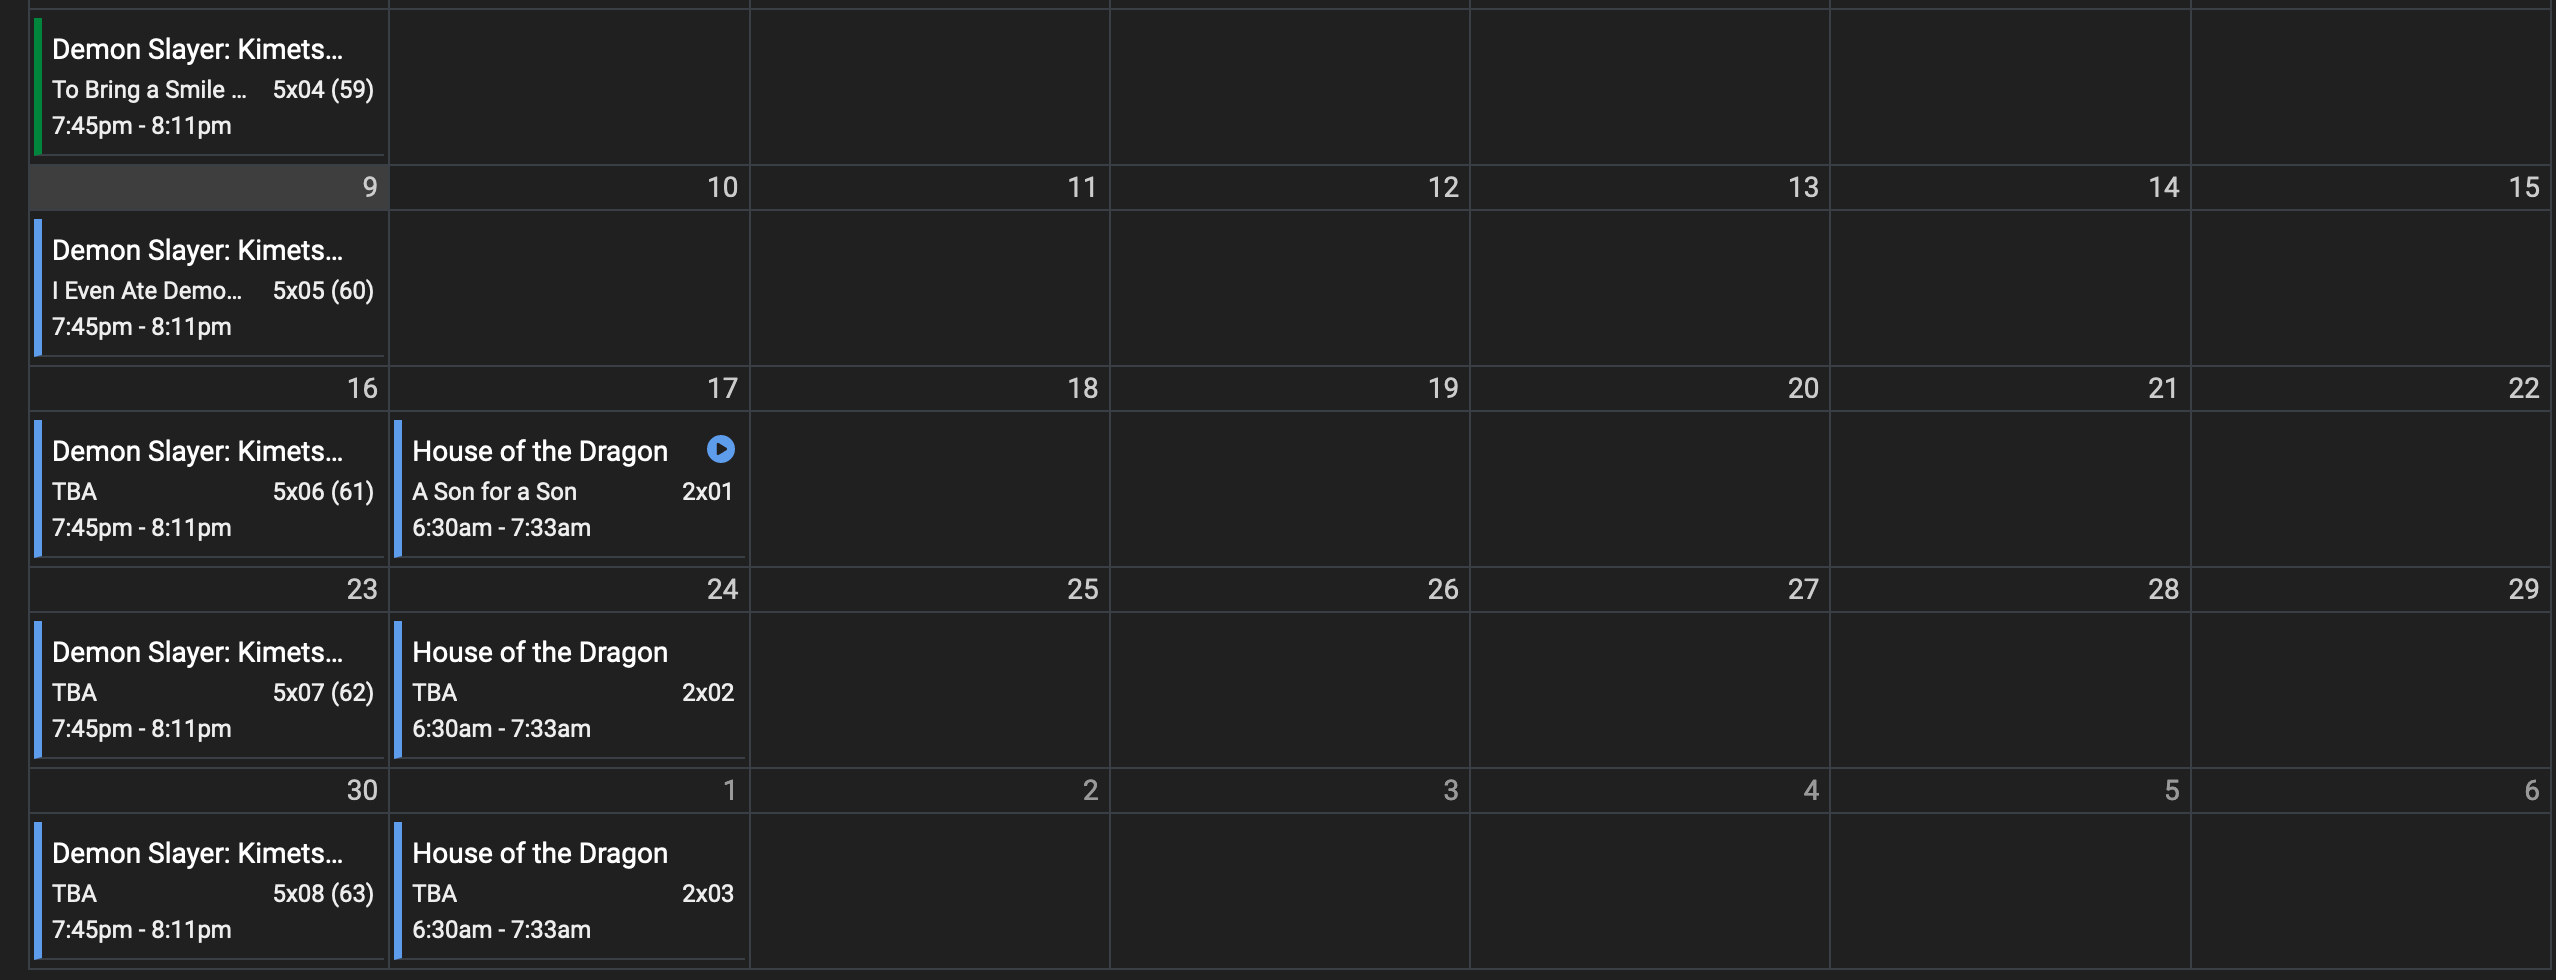
You will have a calendar view of all the TV shows that you are following and you can see when the next episode is going to air. You can also set up quality profiles to download the media in the quality that you prefer.

Calendar view in Sonarr showing the upcoming TV shows / Animes -
Radarr ↗️: Radarr is the Sonarr but for movies. You can use it to search for any movies and the functionality is similar to Sonarr.
-
Lidarr ↗️: Lidarr is for your music collection.
-
Readarr ↗️: Readarr is for your ebooks collection.
-
Bazarr ↗️: Well you have all the media, but what about the subtitles? Bazarr is here to help you with that. Once integrated correctly, it will automatically download the subtitles once Sonarr / Radarr downloads the media. Isn’t that cool?
-
Prowlarr ↗️: I said above that Sonarr / Radarr can be used to search for media based on the indexers you have configured. Well, Prowlarr is a indexer manager which will help you manage all your indexers in one place.
So you will configure all your indexers in Prowlarr and it will then take the responsibility to communicate with the indexers and get the media for you.
-
FlareSolverr ↗️: This is a bit different from the above applications. FlareSolverr is a proxy server that can be used to bypass Cloudflare protection.
This is useful when you are using indexers that are behind Cloudflare protection. You will configure this in Prowlarr and it will take care of the rest.
With these applications in place, you can automate the process of downloading the media, renaming them in appropriate format, and adding them to your Jellyfin library. This is the perfect setup for a media streaming solution in your homelab.
Now to be honest setting these things up correctly can be a bit tricky, but don’t worry, I have a solution for that. Instead of me extending this blog, I would instead highly recommend checking out the configuration guide on yams.media ↗️.
They have a very detailed guide and something I come back to time to time to check if I have missed any configuration. I have followed this guide to set up arr stack and I hope you find it useful too.
Eternal Vault is Now Live! 🎉
Secure your digital legacy with Eternal Vault — now launched and available for everyone! Store your passwords, documents, and critical info in a zero-knowledge encrypted vault. If you ever stop checking in, your chosen loved ones are notified and given access, ensuring your legacy is protected and responsibly passed on.
Bonus app — Jellyseerr
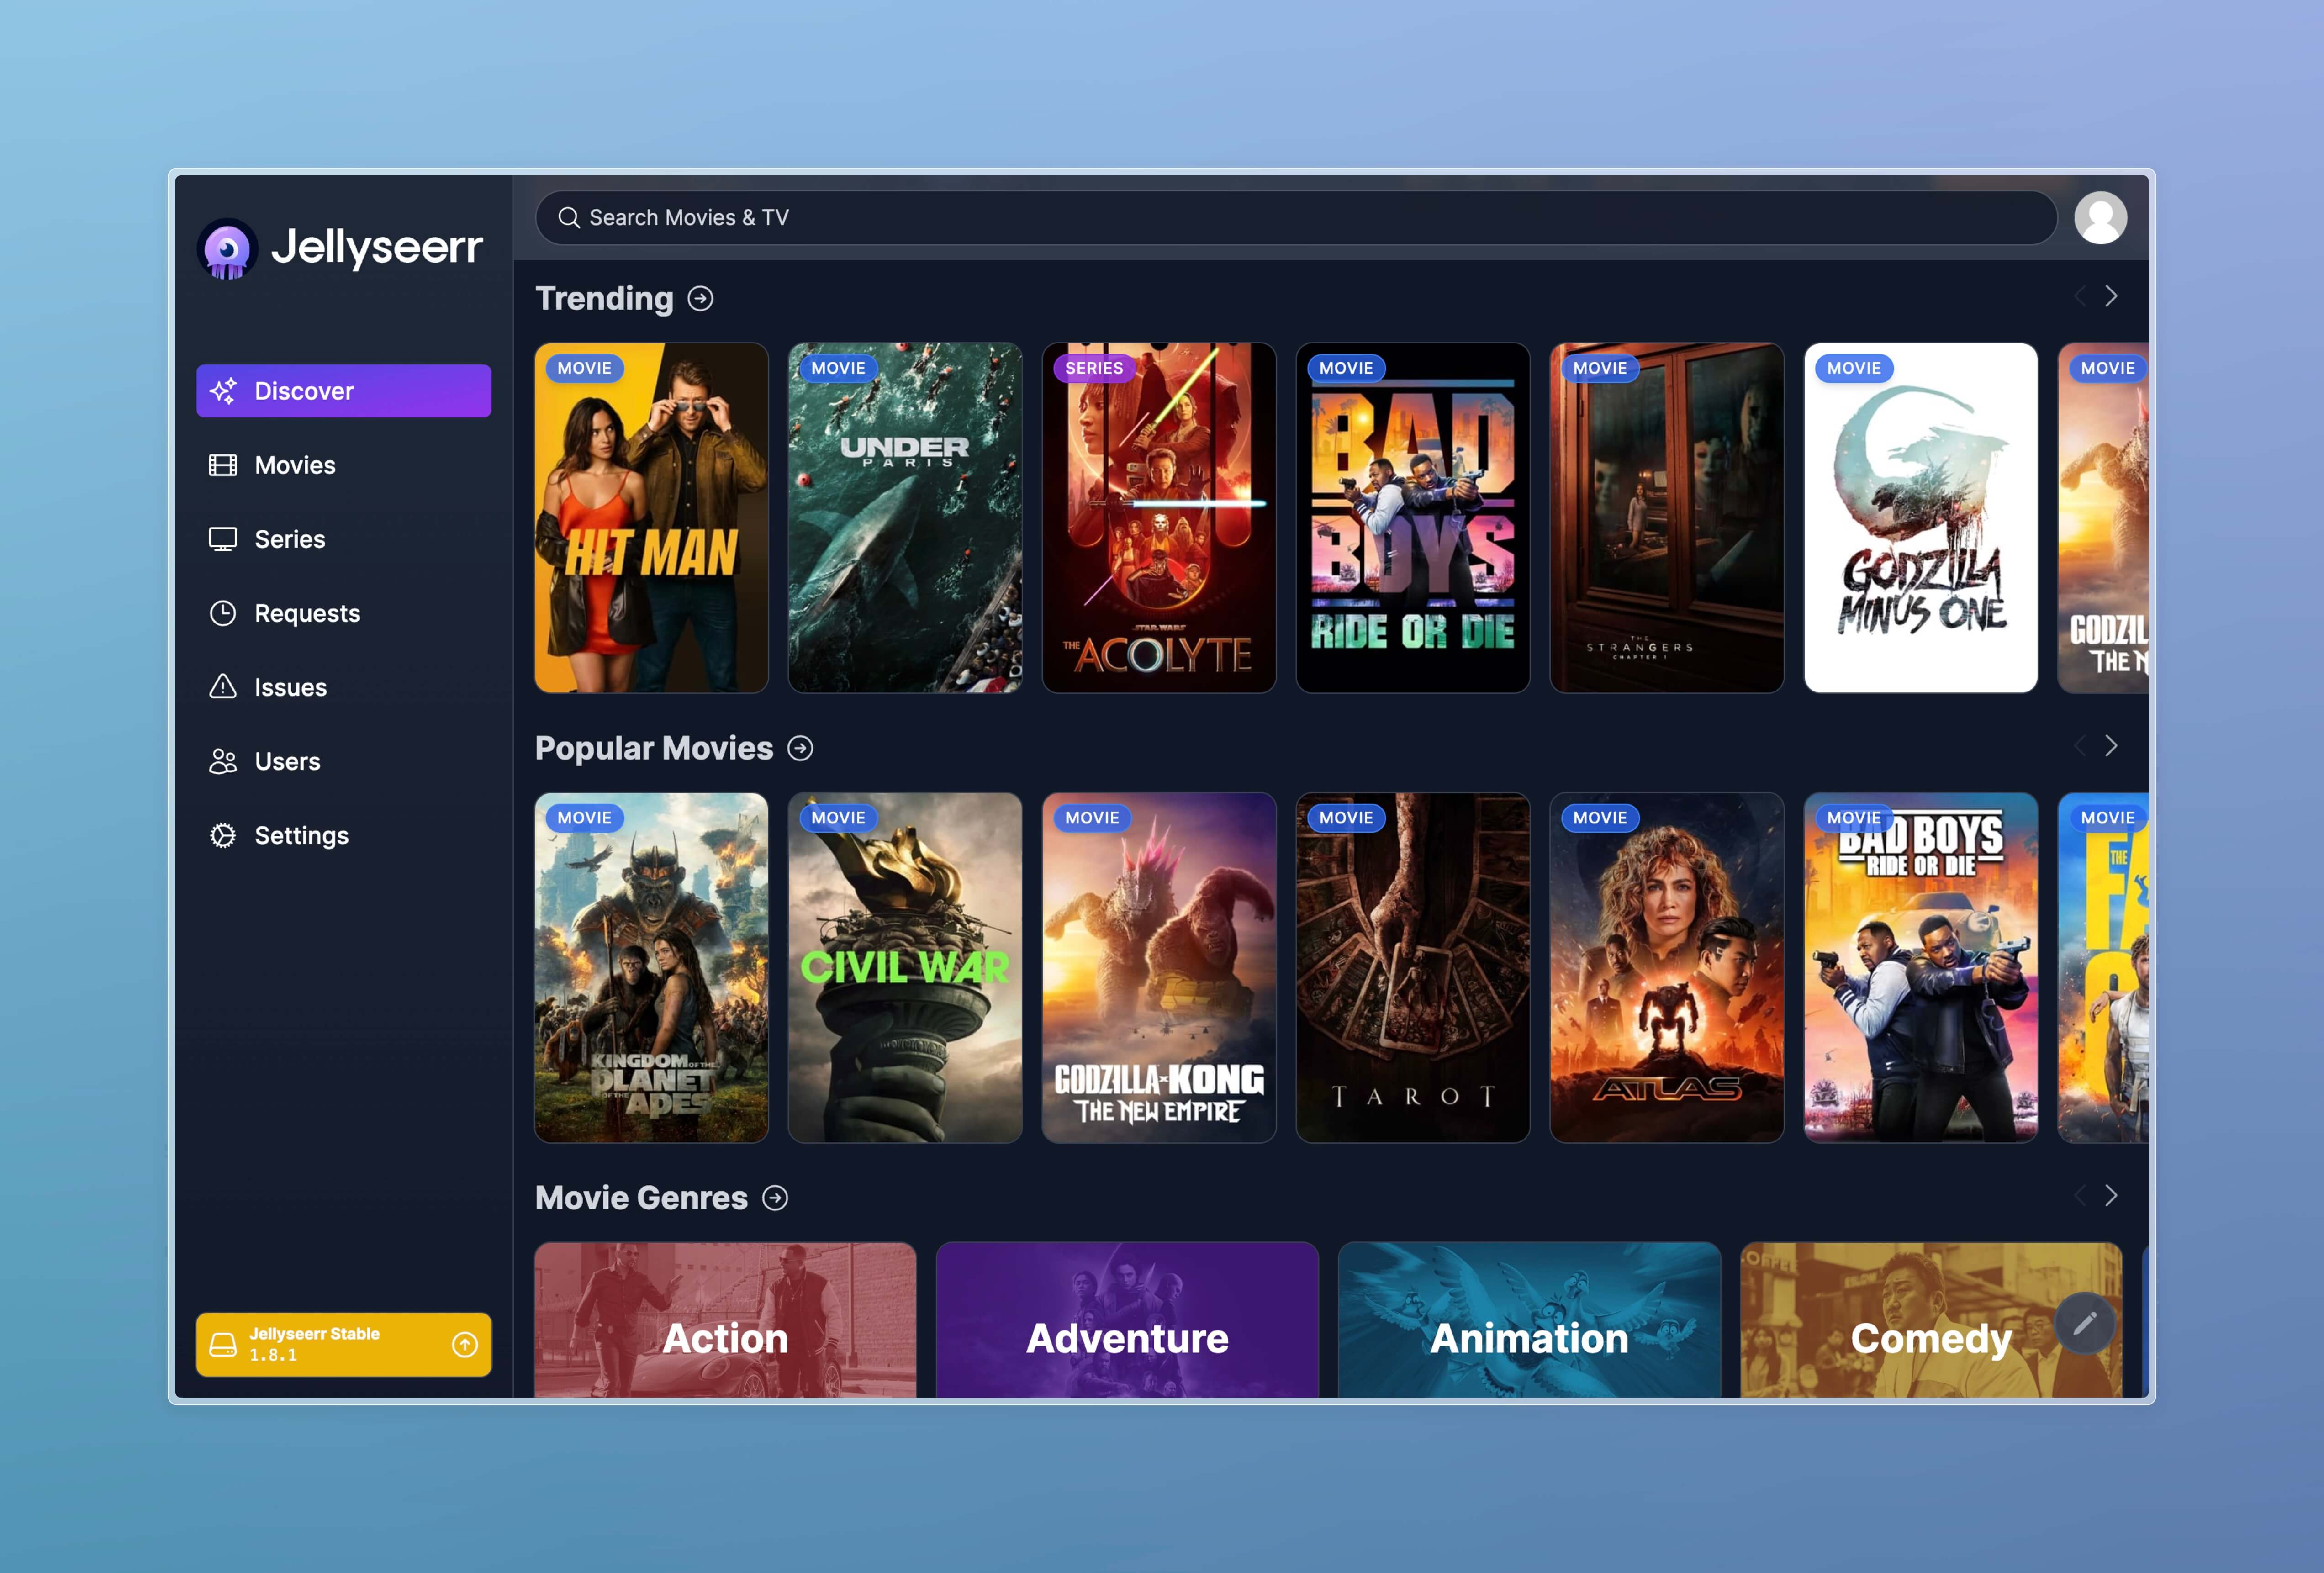
Wait, what? Jellyseerr? Is that another application in the arr stack? Well not exactly. Jellyseerr ↗️ is a fork of Overseerr, a request management and media discovery tool for Plex but with Jellyfin support.
If you are hosting Jellyfin for your family and friends, you can use Jellyseerr which helps them view your media library as well as discover new movies / TV shows (just like any other streaming platform). Here they can then request the media they want to watch and you can approve / deny the request. Here’s how it works:
- Your friends / family will visit the Jellyseerr website and will request the media they want to watch.
- You will get a notification about the request and you can then approve / deny the request.
- If you approve the request, the media request will be automatically routed to Sonarr / Radarr and it will be downloaded.
- Once the media is downloaded, it will be added to your Jellyfin library and your friends / family can watch it.

This is another great addition to your media streaming setup and I highly recommend checking it out.
My setup
As usual, in this section I will be talking about my setup for media streaming in my homelab. I have been running Jellyfin on a Orange Pi 5 Plus with hardware acceleration enabled (this is part of one docker-compose stack automated by ansible). The version is pinned to specific version so that I can decide when to upgrade, since I don’t want to break my setup.
Then I have another docker-compose stack for all the arr stack which includes Sonarr, Radarr, Bazarr, Prowlarr, and FlareSolverr. In this stack all the services are pinned to latest tag so that I can get the latest updates as soon as they are available and I use Watchtower to automatically update the containers.
Finally I have Jellyseerr running on this same server in a separate docker-compose stack. This is also pinned to specific version.
My reasoning behind pinning the versions of Jellyfin and Jellyseerr is that I don’t want to break my setup which is directly used by my family and friends. However I also don’t want to keep on manually updating the arr stack applications since those are internal constructs and I can fix them if they break without affecting the end users.
And I run torrent client via qbittorrent-nox which is used by Sonarr / Radarr to download the media.
Edit: I have recently moved to Aria2 for downloading torrents and paired it up with AriaNg ↗️ for web interface to manage the downloads. This is a great addition to my setup and so far its working great.
This covers the things on the server side, let’s now talk about the client side. I have been using Findroid ↗️ on my Android phone to stream the media. Findroid is a Third party Jellyfin client for Android and it works great for me.
Apart from this, I also use LunaSea ↗️ to manage Sonarr / Radarr from my phone. LunaSea is a Third party Sonarr / Radarr client for Android and this is a very recent addition and so far I am liking it.
Finally, I also have Jellyseerr installed as PWA (Progressive Web App) on my phone so that I can view the media requests directly on my phone via notifications and then approve / deny them.
This completes the entire loop for me and I am quite happy with this entire setup. Do you have a similar setup? Let me know in the comments below.
Conclusion
In this post, I talked about Jellyfin, a free and open-source media server software. I also talked about the arr stack, a set of applications that can be used to automate the process of downloading media and adding them to your Jellyfin library.
We also saw a bonus application called Jellyseerr which can be used to manage media requests from your friends and family. This is a great addition to your media streaming setup.
If you have any questions or comments, please feel free to reach out to me on Twitter ↗️ / Reddit ↗️ or in the comments box below.
See you in the next one where we learn how to enable hardware acceleration in Jellyfin. Until next time, happy streaming! 🍿🎥🎶