Introduction
Welcome to another post in the series of self-hosted tools. In this post, I will be talking about a tool which has made my life easier and has become an integral part of my workflows.
I have been using Syncthing ↗️ for a while now and there is no doubt about how much it has made my life easier. It is a decentralized file synchronization tool which is open source and free to use. It is available for all major platforms like Windows, macOS, Linux, Android and even FreeBSD.
In this post, I use Syncthing in my workflows and how you can set it up and use it.
What is Syncthing?
Before we dive into the setup and usage, let’s briefly understand what Syncthing is.
Syncthing is a decentralized file synchronization tool which means that there is no central server where your files are stored. All the data is encrypted and transferred directly between devices. This makes it a secure and private way to sync your files.
One interesting thing about Syncthing’s architecture is how it doesn’t need IP addresses to connect devices. It uses a discovery server to find other devices and then establishes a connection between them. Each device is identified by a unique ID which is generated when you first set up Syncthing. Give this ID to another device and it will be able to connect to your device without needed to perform any port forwarding which means it works even behind NAT.
Remember as the name suggests Syncthing is a synchronization tool and not a backup tool. If you delete a file on one device, it will be deleted on all devices. So be careful when deleting files.
Setting up Syncthing
Now that we know what Syncthing is, I’m sure you’re sold on the idea of using it. Let’s see how you can set it up.
Installing Syncthing
The first step is to install Syncthing on your devices. You can download the latest version from the official website ↗️. Once you have downloaded the installer, follow the instructions to install it on your device.
You can also download the official clients for your mobile devices via Playstore ↗️ or F-Droid ↗️ like I did.
For linux users, you can also install Syncthing via the package manager. Here is how you can install it on Ubuntu:
sudo apt update && sudo apt install syncthingUse your official package manager to install Syncthing on your system.
Setting up Syncthing
Once you have installed Syncthing, you can access the web interface by visiting http://localhost:8384 in your browser. You will be greeted with a setup wizard where you can configure Syncthing.
If you are not able to access the web interface if you are using a remote server, you would have to make few config changes to access it. The default config will be stored in ~/.config/syncthing/config.xml. We will update the <address> tag to point to 0.0.0.0 IP address instead of 127.0.0.1.
<gui enabled="true" tls="false" debugging="false" sendBasicAuthPrompt="false"> <address>0.0.0.0:8384</address></gui>Once you have updated the config, restart Syncthing with systemd command:
systemctl restart syncthing@<username> # replace <username> with your usernameNow you should be able to access the web interface by visiting http://<server-ip>:8384.
Adding Devices
The next step is to add devices to Syncthing. You can add devices by clicking on the Add Remote Device button on the web interface. You will need to enter the device ID of the device you want to add. You can find the device ID by clicking on the Actions button on the device you want to add and then clicking on Show ID.
If there are othe devices in your local network, Syncthing will automatically discover them and you can add them by clicking on the Add button.
Creating Folders
In Syncthing, you can create folders which you want to sync between devices. You can create a folder by clicking on the Add Folder button on the web interface. You will be adding a path from the device where the folder is located and then select the devices you want to sync the folder with.
The Linux file system path aliases can be used in the folder path. For example, ~ is the home directory of the user running Syncthing, so if you have a folder like /home/user/Documents, you can use ~/Documents as the folder path.
Syncing Files
Once you have added devices and created folders, Syncthing will start syncing files between devices. You can monitor the progress of the sync by clicking on the Actions button on the folder and then clicking on Show Folder.
At this point, if the initial sync has completed successfully once, everything is on auto-pilot. Syncthing will keep the folders in sync between devices.
Death is hard enough. Accessing accounts shouldn't be.

When someone passes away, their family is often locked out of the accounts, documents, and details they were meant to have. Eternal Vault is my fix for that: a secure place to store what matters and hand it to the right people when it's needed.
How I use Syncthing in my workflows
There are majorly two ways I use Syncthing in my workflows:
-
Backup my entire phone to the server: I have a folder on my server which mirrors all data generated on my phone. This includes photos, videos, documents, etc. This way I have a backup of all my data in case I lose my phone.
Of course I exclude some folders like app generated data and cache folders which I don’t need to backup.
-
Backups from mobile app to server: I have a few mobile apps which generate data which I want to backup. For example, I use MoneyWallet to keep track of all my expenses. I create a local snapshot of the database file and store it on the local folder.
Now this folder is configured to sync on a special folder on my server where all the backups are stored, and I have some scripts which automatically encrypts the data and stores it on off-site storage.
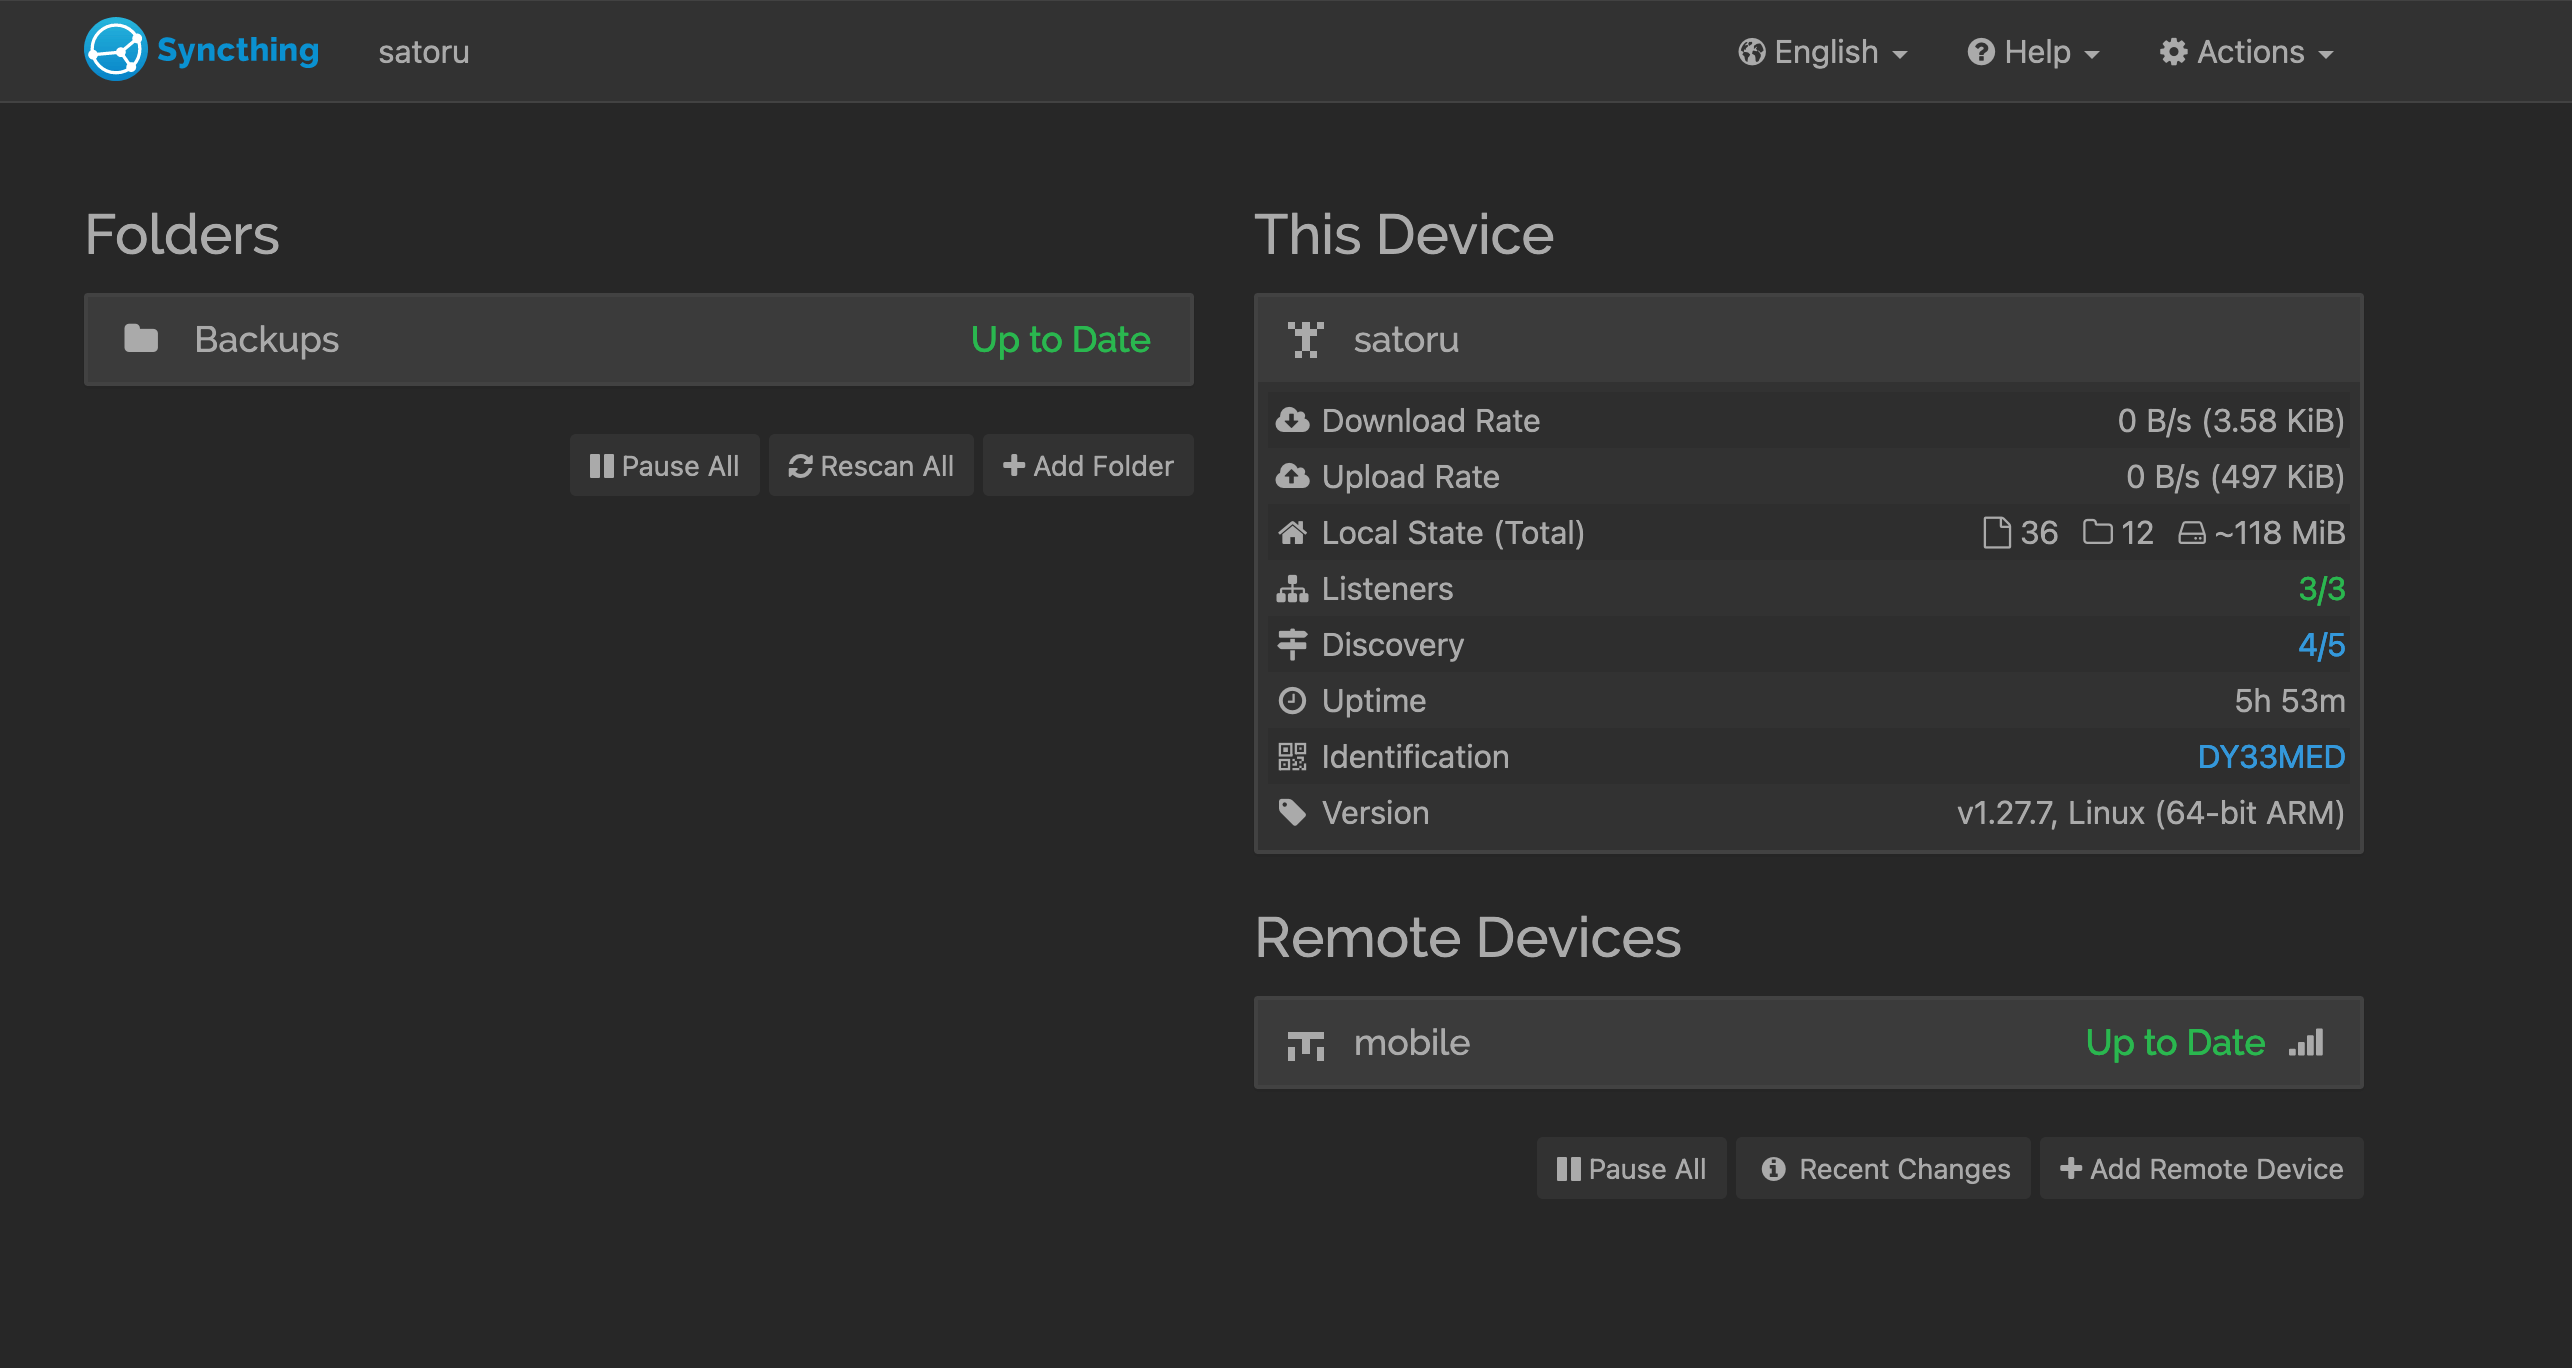
Syncthing screen of a server syncing backups from a mobile phone
Overall, my experience with Syncthing has been great. It is a simple tool which does one thing and does it well. It is a great tool to have in your toolbox if you want to keep your files in sync between devices.
Conclusion
In this post, we saw what Syncthing is and how you can set it up and use it. I hope you found this post helpful and you are now ready to start using Syncthing in your workflows.
If you have any questions or comments, please feel free to reach out to me on Twitter ↗️ or in the comments box below.
Until next time, happy syncing!