Introduction
Welcome to another week of self-hosting various services in my homelab. This week, we’ll be tackling a common problem that many of us face - monitoring our internet connection’s performance.
Like many of you, I’ve had those moments where my internet feels slow, but when I run a speed test, everything seems fine. Or worse, when I contact my ISP about speed issues, they claim everything is working perfectly. Without historical data, it’s hard to prove otherwise.
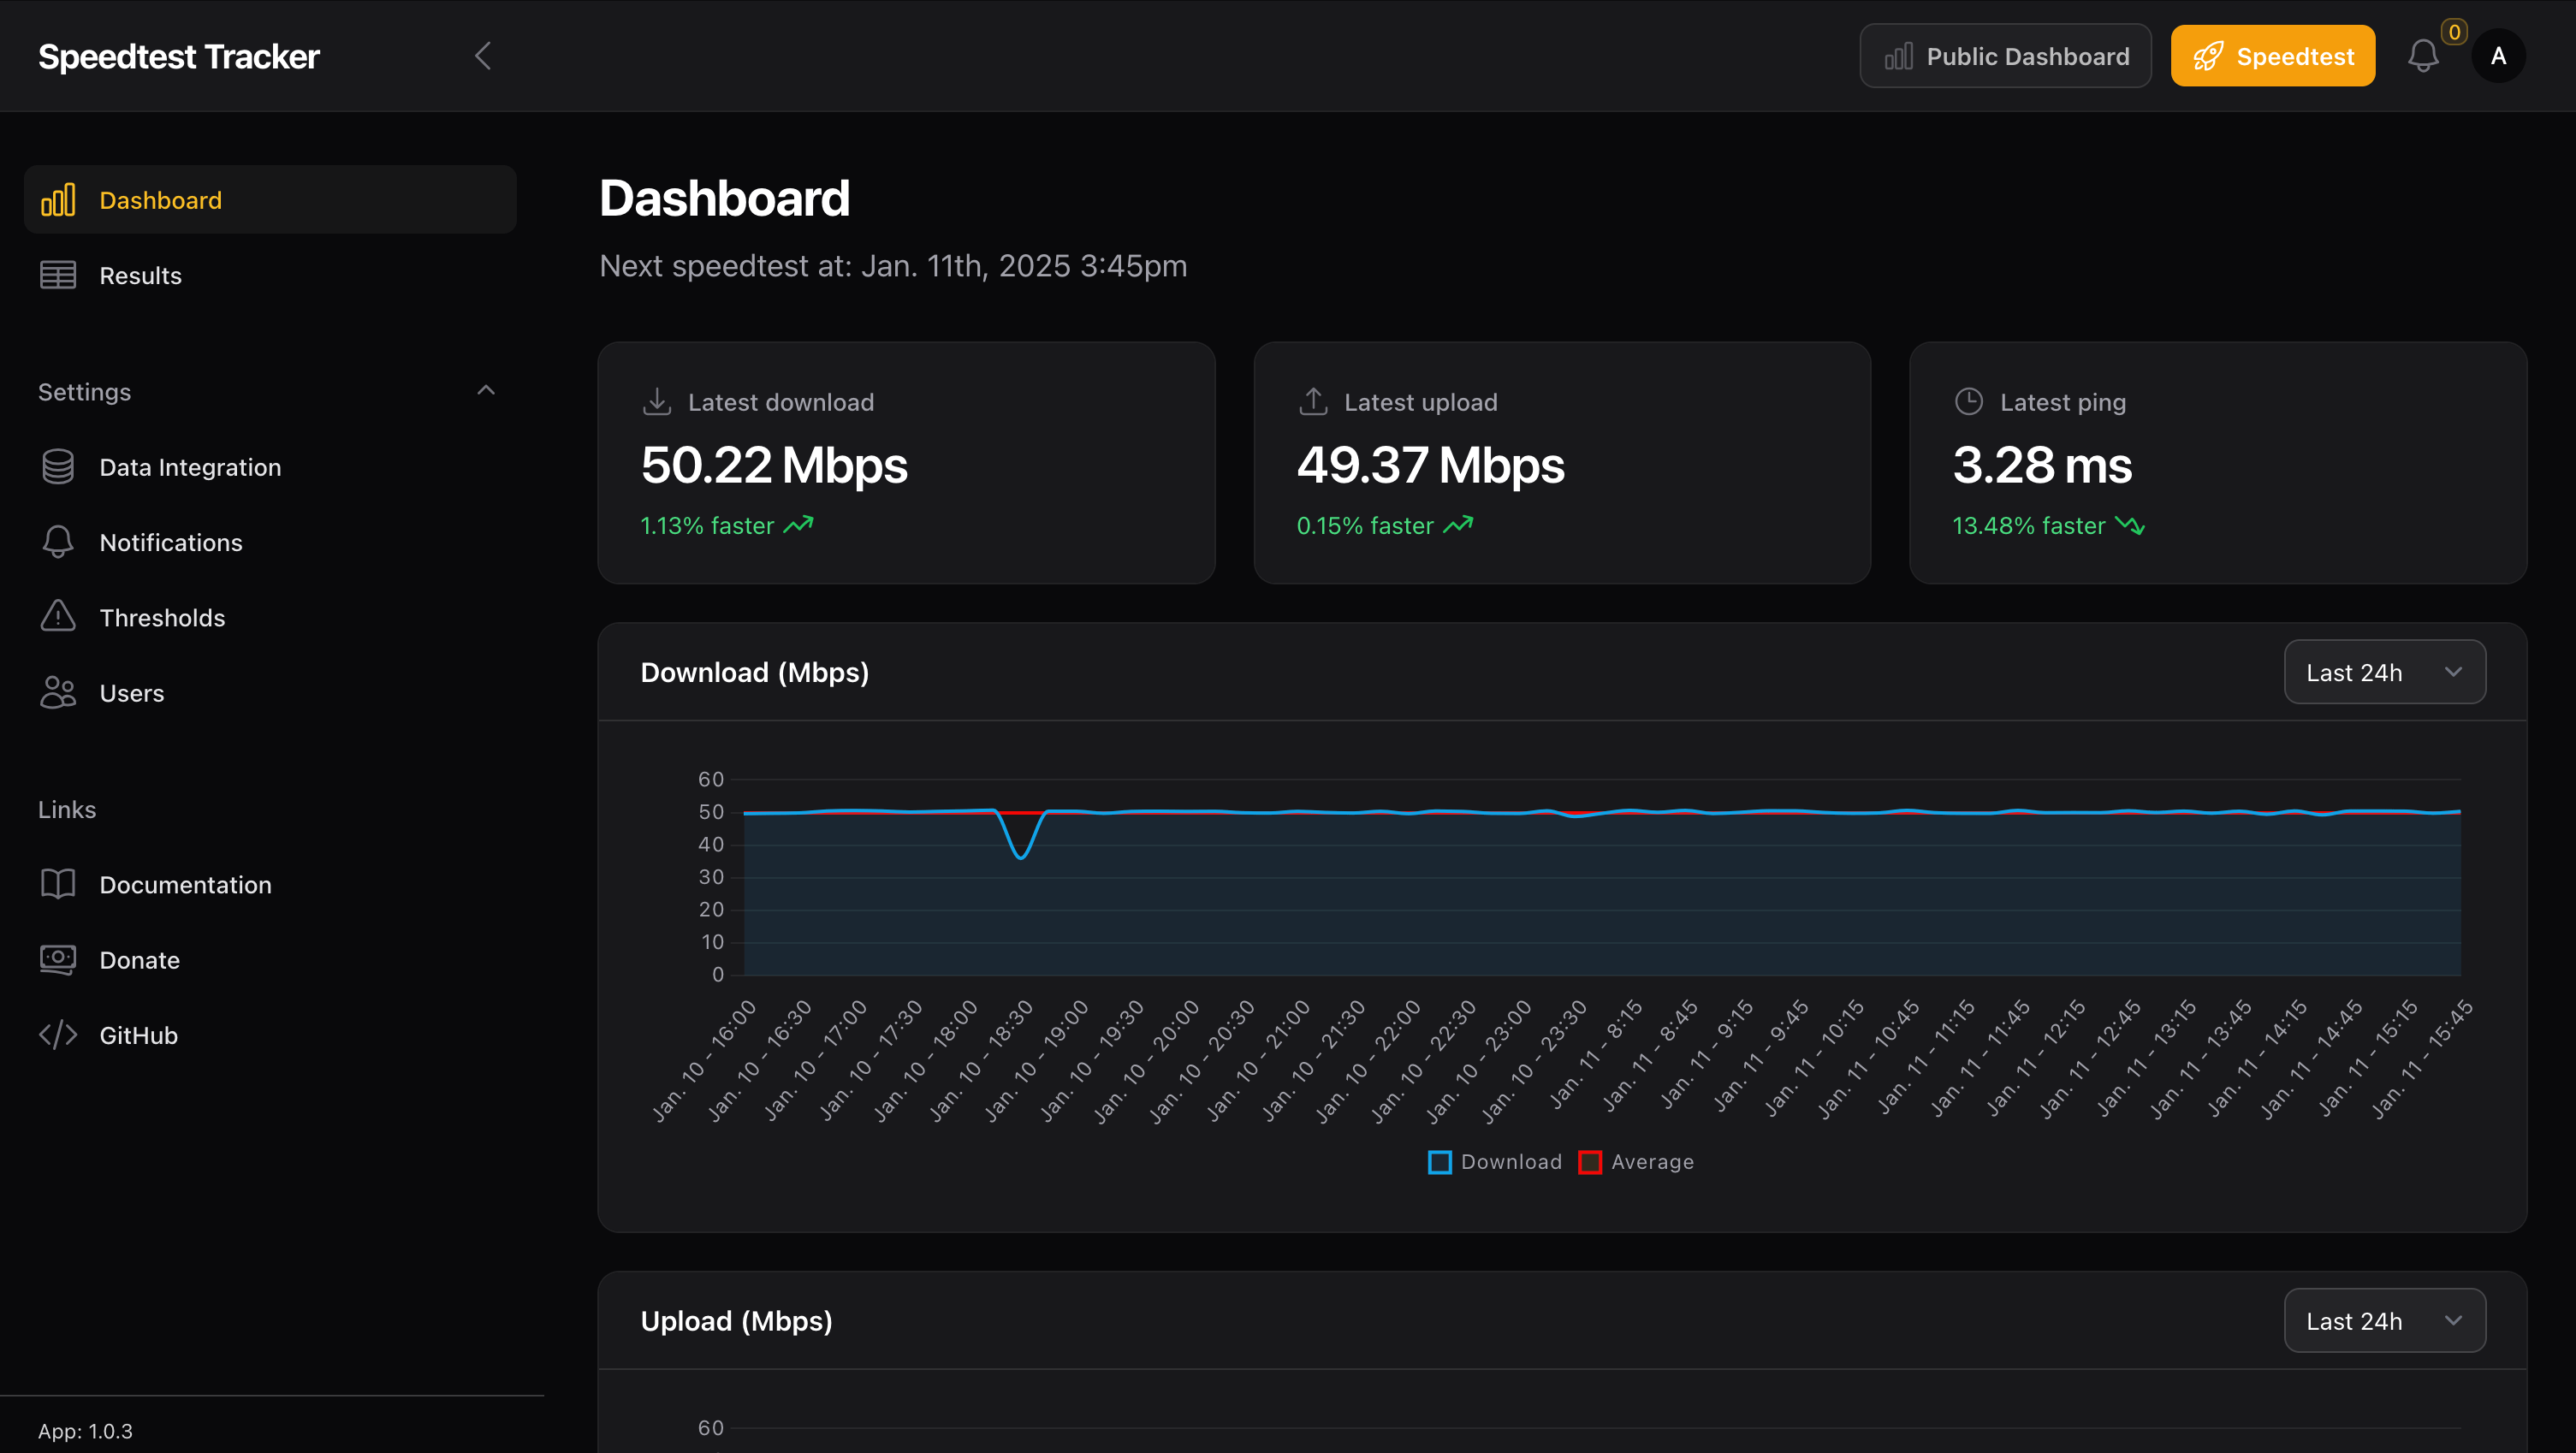
That’s where Speedtest Tracker comes in - a self-hosted solution that automatically runs speed tests at regular intervals and presents the data in beautiful, easy-to-understand graphs. Let’s dive into how you can setup Speedtest Tracker in your homelab and how you can use it to monitor your internet speed.
What is Speedtest Tracker?
Speedtest Tracker ↗️ is an internet speed monitoring tool that automatically runs speed tests using the official Speedtest CLI by Ookla. It stores the results in a database and presents them through a clean, modern web interface.
Here are couple of features that Speedtest Tracker offers:
- Automated speed tests at configurable intervals.
- Beautiful, responsive dashboard.
- Historical data tracking.
- Notification support for failed tests.
- Data export capabilities.
- Data integration with InfluxDB ↗️.
- Multiple test servers support.
- Mobile-friendly interface.
- Authentication support.
- Multi-user support with role based access control.
- Customizable thresholds for alerts.
The project is actively maintained with regular updates and improvements. You can check out their website ↗️ to see what’s coming next.
Setup Speedtest Tracker
I use Docker to run Speedtest Tracker in my homelab, so let’s go through the setup process. First, create a new directory:
mkdir speedtest-tracker && cd speedtest-trackerHere’s my docker-compose configuration:
services: speedtest: image: 'lscr.io/linuxserver/speedtest-tracker:latest' container_name: 'speedtest' volumes: - ./config:/config ports: - 8080:80 environment: - PGID=1000 - PUID=1000 - APP_KEY= # Get this from https://speedtest-tracker.dev/ - DB_CONNECTION=sqlite - SPEEDTEST_SCHEDULE="*/15 * * * *" # Run every 15 minutes - PRUNE_RESULTS_OLDER_THAN=60 # Keep results for 60 days - APP_TIMEZONE=Asia/Kolkata - DISPLAY_TIMEZONE=Asia/Kolkata - APP_URL=https://speedtest.mydomain.com restart: unless-stopped healthcheck: test: curl -fSs http://localhost/api/healthcheck | jq -r .message || exit 1 interval: 10s retries: 3 start_period: 30s timeout: 10sGenerate the APP_KEY by visiting https://speedtest-tracker.dev/ ↗️ and copying the key from the page.
For database, I use SQLite as it’s easy to setup and doesn’t require any additional configuration and is more than enough for my use case, but you can also use MySQL/MariaDB ↗️ or PostgreSQL ↗️.
Once that’s done, create the necessary directories:
mkdir -p configNow you can start Speedtest Tracker:
docker compose up -dThe web interface will be available at http://localhost:8080. Create your admin account and you’re ready to go!

Death is hard enough. Accessing accounts shouldn't be.
When someone dies, you don't get even one extra second to access the documents and information they meant to share it with you. Trying to fix this problem with Eternal Vault.
My Setup and Usage
Here’s how I’ve integrated Speedtest Tracker in my homelab:
-
Reverse Proxy: I use Caddy for secure access:
speed.mydomain.com {reverse_proxy localhost:8080} -
Notifications: I’ve set up Ntfy for alerts when:
- Speed drops below threshold
- Tests fail to complete
- Server becomes unreachable
-
Test Configuration:
- Run the tests every 15 minutes
- Keep the results for 60 days
- Test against multiple servers for better accuracy
When setting up automated tests, consider:
- Your monthly data cap (if any)
- Server load during tests
- Network impact during testing
- Test frequency vs data accuracy trade-off
Conclusion
Speedtest Tracker is yet another simple yet helpful tool in my homelab, providing valuable insights into my internet connection’s performance. With multiple tests run in the past month, it has helped me identify peak usage patterns, document ISP performance issues, and ensure I’m getting the service I’m paying for.
Have you implemented internet speed monitoring in your homelab? How do you track your ISP’s performance? Share your experiences in the comments below, or reach out to me on Twitter ↗️ / Reddit ↗️.
Happy monitoring!