Introduction
After implementing fail2ban to protect SSH access in my homelab, I started thinking about web application security. While fail2ban handles basic intrusion attempts beautifully, my web services needed more sophisticated protection against modern web attacks.
That’s when I discovered SafeLine WAF, and honestly, it’s been a game-changer for protecting my self-hosted web applications. What impressed me most wasn’t just its effectiveness, but how it uses AI to understand attack intent rather than relying on traditional signature-based detection.
After running it for several months protecting multiple services in my homelab, I can confidently say it’s become an essential part of my security stack.
What is SafeLine WAF?
SafeLine ↗️ is a self-hosted Web Application Firewall developed by Chaitin Tech. Unlike traditional WAFs that rely on predefined rules, SafeLine uses semantic analysis powered by machine learning to understand the actual intent behind web requests.
The project has gained significant traction in the self-hosting community with over 17.3K GitHub stars ↗️ and is currently protecting over 1 million websites ↗️ worldwide.
Here’s how SafeLine works in your homelab:
- Acts as a reverse proxy - Routes all traffic through SafeLine first
- Analyzes every request using AI-powered semantic analysis
- Blocks malicious traffic in real-time (sub-millisecond detection)
- Forwards clean traffic to your actual web services
- Learns and adapts to improve protection over time
What SafeLine Protects Against:
- SQL injection attempts
- Cross-site scripting (XSS)
- Remote code execution (RCE)
- Path traversal attacks
- HTTP flood attacks
- Bot abuse and scraping
- Zero-day vulnerabilities
Traditional WAFs use signature-based detection, which means they can only catch known attack patterns. SafeLine’s semantic analysis understands the intent behind requests, allowing it to detect unknown threats and reduce false positives significantly.
Why I Chose SafeLine Over Alternatives
I evaluated several WAF solutions before settling on SafeLine. Here’s what convinced me:
Performance Comparison: Based on community benchmark testing ↗️, SafeLine consistently outperforms traditional solutions:
| Solution | Detection Rate | False Positives | Overall Accuracy |
|---|---|---|---|
| SafeLine (Balanced) | 71.65% | 0.07% | 99.45% |
| SafeLine (Strict) | 76.17% | 0.22% | 99.38% |
| ModSecurity Level 1 | 69.74% | 17.58% | 82.20% |
| Cloudflare Free | 10.70% | 0.07% | 98.40% |
The numbers spoke for themselves - SafeLine offered the best balance of high detection with minimal false positives.
Compared to Cloudflare:
- Complete control over security policies
- No traffic limits or ongoing costs
- Privacy (all data stays in your homelab)
- Better detection rates for sophisticated attacks
Compared to ModSecurity:
- Much easier to configure and manage
- Dramatically lower false positive rates (0.07% vs 17.58%)
- Web-based management interface
- Better performance with modern architectures
Setting Up SafeLine in My Homelab
The installation process is surprisingly straightforward. I had SafeLine protecting my first service in under 10 minutes.
Prerequisites
Before starting, make sure your system has:
- Linux OS (I’m using Ubuntu 24.04)
- Docker & Docker Compose
- At least 1GB RAM and 5GB storage
Quick Installation
For testing purposes, you can use SafeLine’s automated installer:
# Install with English interfacebash -c "$(curl -fsSLk https://waf.chaitin.com/release/latest/manager.sh)" -- --enProduction Installation (My Preferred Method)
For my production homelab setup, I prefer the manual approach for better control:
# Create SafeLine directorysudo mkdir -p /data/safelinecd /data/safeline
# Download Docker Compose configurationsudo wget https://waf.chaitin.com/release/latest/compose.yaml
# Create environment configurationsudo tee .env << 'EOF'SAFELINE_DIR=/data/safelineIMAGE_TAG=latestMGT_PORT=9443POSTGRES_PASSWORD={postgres-password}SUBNET_PREFIX=172.22.222IMAGE_PREFIX=chaitinARCH_SUFFIX= # use -arm for arm64 devicesRELEASE= # use -lts for latest stable releaseREGION=-gEOF
# Start SafeLine servicessudo docker compose up -d
Verify Installation
Check that all containers are healthy:
# View container statussudo docker compose ps
# Check logs for any issuessudo docker compose logs --tail=50
You should see several containers running:
- safeline-mgt: Web management interface
- safeline-detector: AI detection engine
- safeline-tengine: Reverse proxy component (based on Tengine/Nginx)
- safeline-pg: PostgreSQL database for logs and config
- safeline-luigi, safeline-fvm & safeline-chaos: Services for data processing and analytics
Access the management interface at https://your-server-ip:9443
Configuring Your First Protected Service
Setting up protection for a web service is intuitive through SafeLine’s web interface.
Initial Setup
- Navigate to
https://your-server-ip:9443 - Create your admin account during first login (or use
docker exec safeline-mgt resetadminto reset the admin password) - Complete the setup wizard
Protecting a Web Service
Here’s how I configured SafeLine to protect my personal blog through the web interface:
Basic Configuration:
- Website Name: “Personal Blog”
- Domain: “blog.yourdomain.com”
- Upstream Server: “192.168.1.100:3000”
- Protection Mode: “Balanced”
- SSL Certificate: “Let’s Encrypt Auto”
Protection Modes:
- Monitor: Logs attacks without blocking (great for testing)
- Balanced: Optimal protection with minimal false positives (recommended)
- Strict: Maximum security with potential for more false positives
SSL/TLS Configuration
SafeLine handles SSL termination, which simplifies your backend services:
- Automatic Let’s Encrypt: SafeLine can manage certificates automatically
- Custom Certificates: Upload your own certificates through the web interface
- Wildcard Support: Perfect for protecting multiple subdomains
Self-Hosted vs Commercial Features
The free self-hosted version of SafeLine is surprisingly feature-complete for homelab users. Here’s what you get without paying anything:
Free Self-Hosted Features:
- Intelligent semantic analysis detection
- Rule-based cyber threat protection
- Website identity authentication
- Rate limiting and HTTP flood DDoS protection
- Malicious IP detection
- Web ACLs support
- Protection for up to 10 applications
For companies needing additional enterprise features like geo-blocking, advanced analytics, or protecting unlimited applications, SafeLine offers commercial plans ↗️ starting at $10/month with enhanced capabilities.
For most homelab users, the free version provides more than enough protection and features.
Death is hard enough. Accessing accounts shouldn't be.

When someone dies, you don't get even one extra second to access the documents and information they meant to share it with you. Trying to fix this problem with Eternal Vault.
Real-World Testing and Results
Testing SafeLine’s Protection
I tested SafeLine’s effectiveness using common attack vectors:
# SQL injection testcurl "http://blog.yourdomain.com/?id=1' OR '1'='1"
# XSS testcurl "http://blog.yourdomain.com/?search=<script>alert('xss')</script>"
# Path traversal testcurl "http://blog.yourdomain.com/../../etc/passwd"
Results: All malicious requests were blocked with detailed logging, while legitimate traffic flowed through without issues.
Protected Services in My Setup
Currently, SafeLine protects these services in my homelab:
- Personal blog and portfolio site
- Vaultwarden password manager
- Jellyfin media server
- Immich photo management
- API services and development applications
Advanced Configuration Tips
Multiple Service Protection
One of SafeLine’s strengths is protecting multiple services from a single instance. I’ve configured these through the web interface:
Service 1: Blog
- Domain: “blog.yourdomain.com”
- Upstream: “192.168.1.100:3000”
- Protection: “Balanced”
Service 2: API
- Domain: “api.yourdomain.com”
- Upstream: “192.168.1.101:8080”
- Protection: “Strict”
Service 3: Media Server
- Domain: “jellyfin.yourdomain.com”
- Upstream: “192.168.1.102:8096”
- Protection: “Balanced”
Custom Security Rules
While SafeLine’s AI handles most threats automatically, you can add custom rules through the web interface:
Block specific user agents:
- Rule Name: “Block Automated Tools”
- Pattern: “User-Agent contains ‘sqlmap|nikto|nmap’”
- Action: “Block”
Geographic restrictions (available in paid plans):
- Rule Name: “Restrict Countries”
- Condition: “Country in [‘CN’, ‘RU’]”
- Action: “CAPTCHA Challenge”
Rate Limiting Configuration
Configure intelligent rate limiting through the web interface to prevent abuse:
- Rate Limit: “100 requests per minute per IP”
- Burst Allowance: “150 requests”
- Block Duration: “300 seconds”
- Whitelist: “192.168.1.0/24, your-admin-ip”
Always whitelist your admin IPs and local network ranges to prevent accidentally blocking yourself during configuration changes.
Monitoring and Maintenance
Built-in Analytics
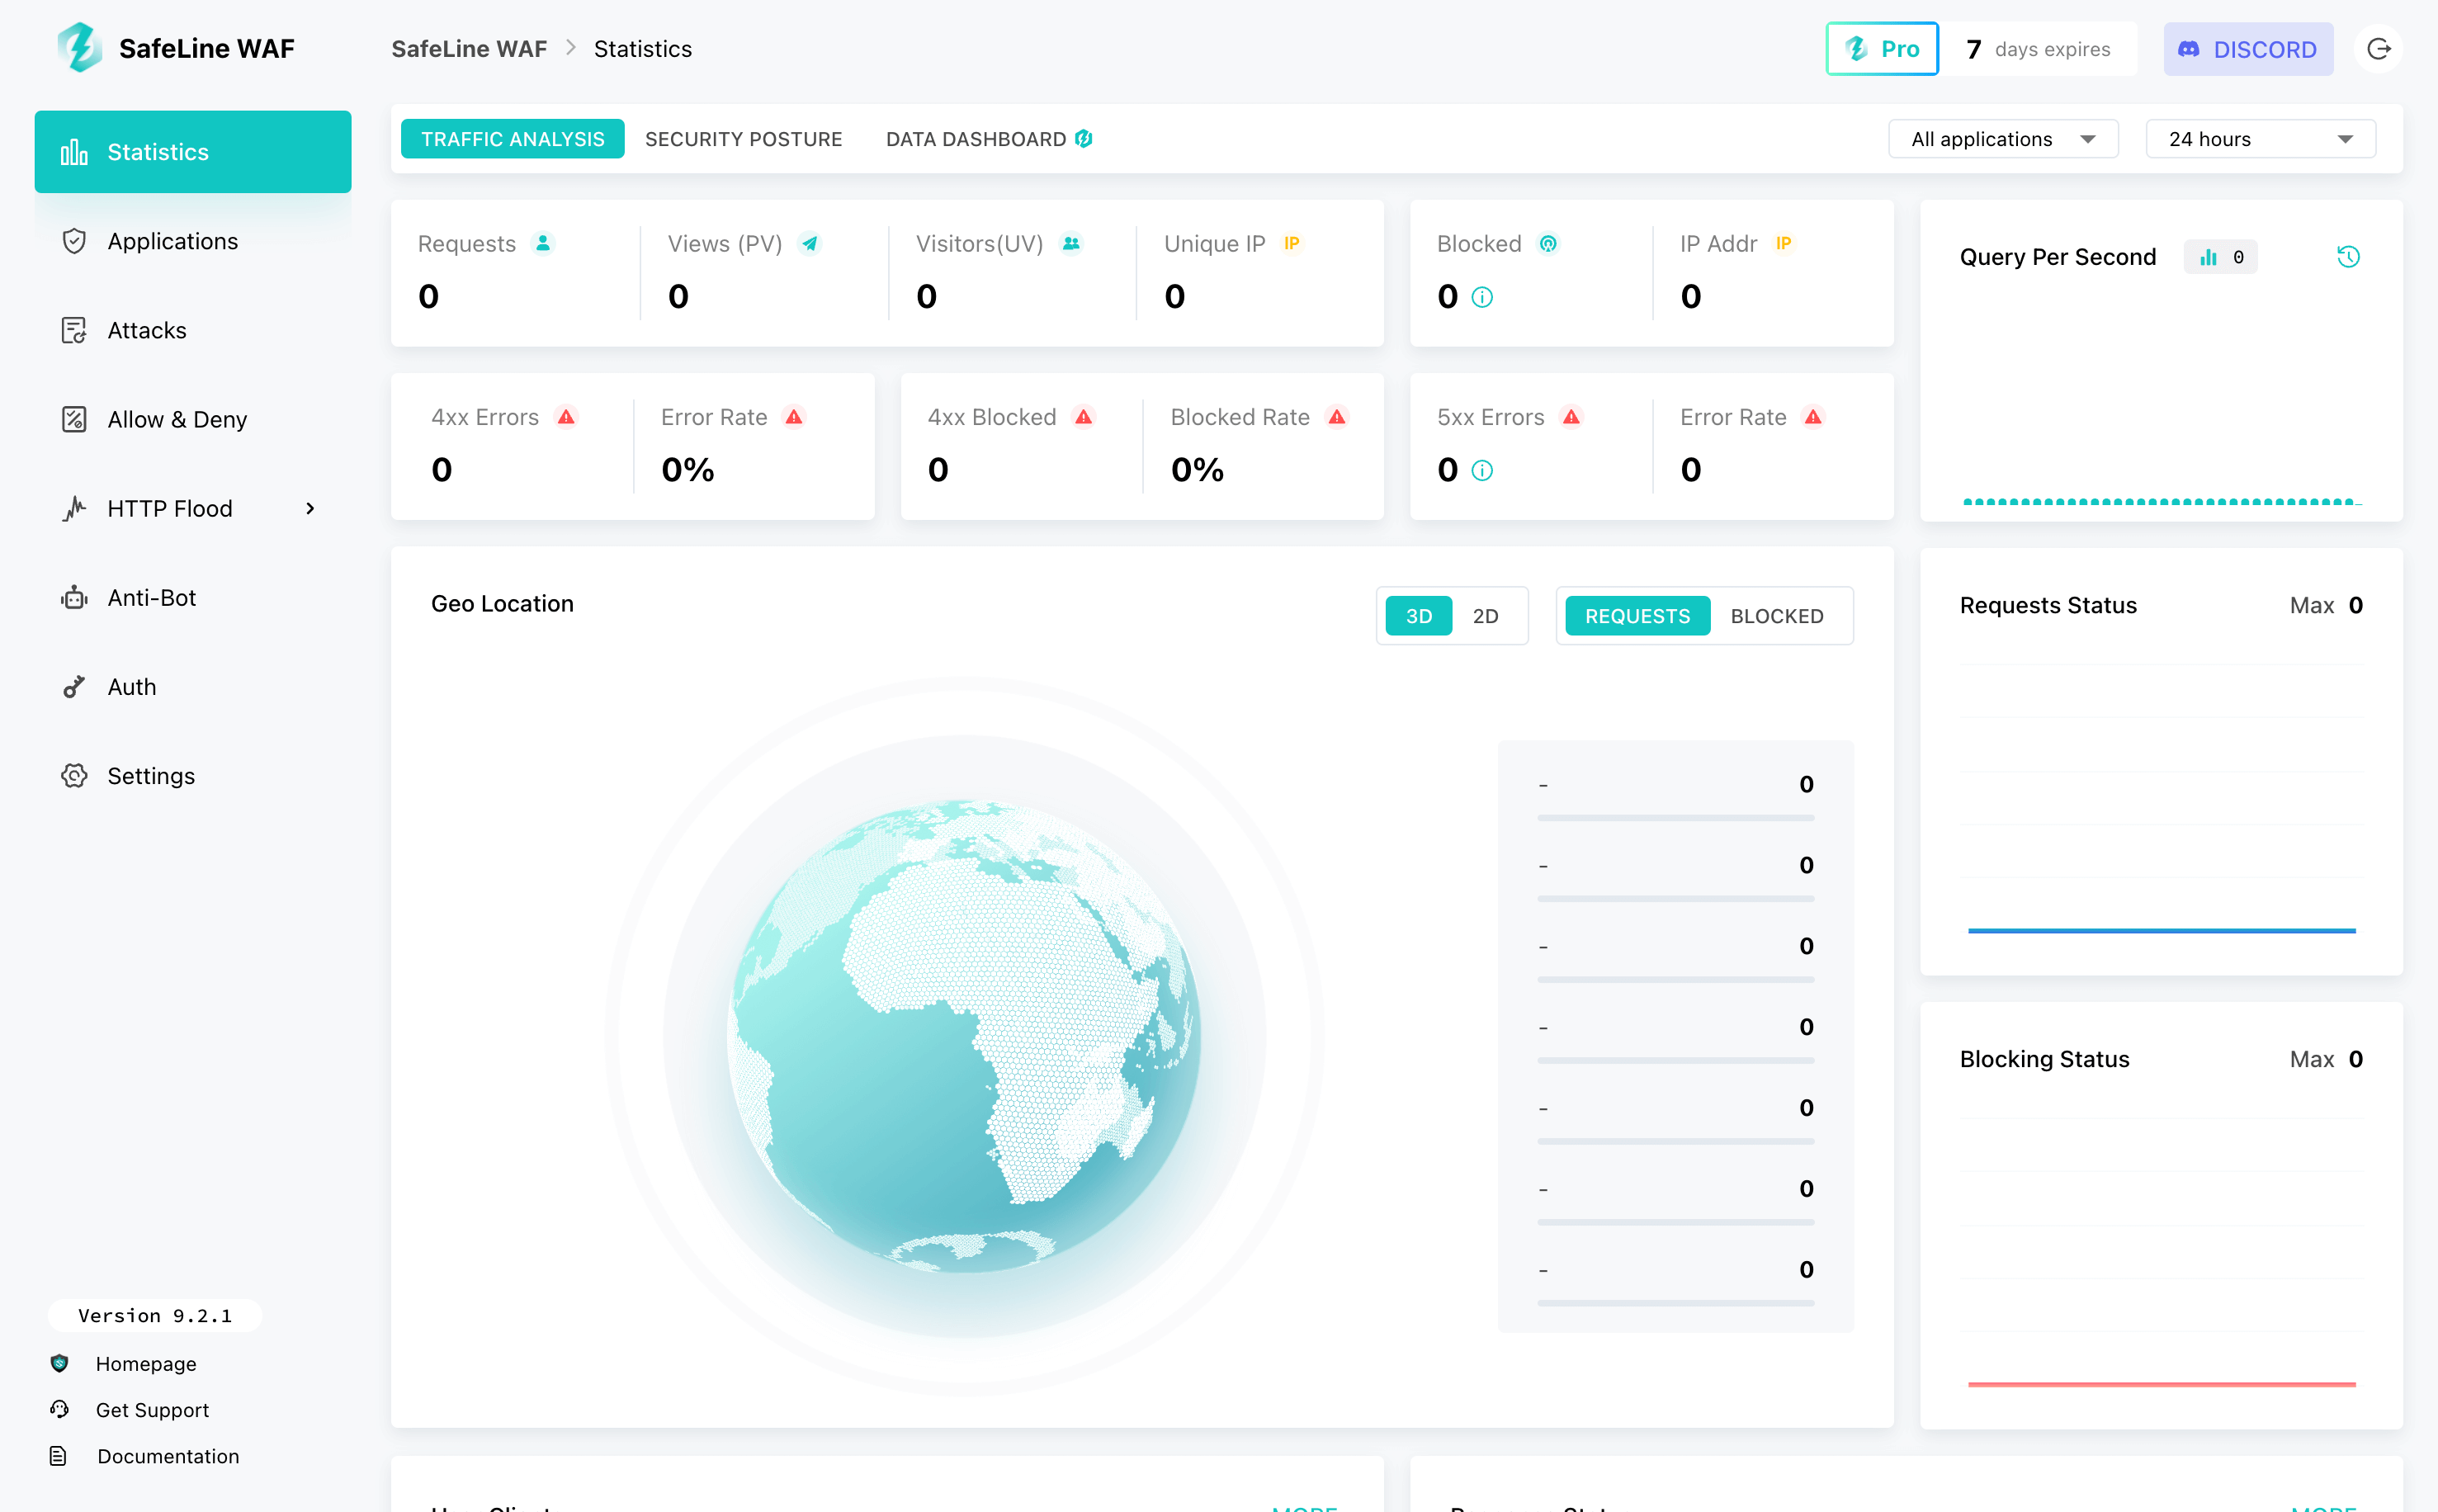
SafeLine provides comprehensive monitoring through its web interface:
- Real-time attack detection and blocking
- Geographic source mapping of attacks
- Attack type classification and trends
- Performance metrics and health status
Log Analysis
Access detailed security logs:
# View real-time detection logssudo docker compose logs -f safeline-detector
# View web server logssudo docker compose logs -f safeline-tengine
# Export logs for external analysissudo docker exec safeline-pg pg_dump -U safeline-ce -d safeline-ce > safeline_logs.sql
Regular Maintenance
# Update SafeLine to latest versioncd /data/safelinesudo docker compose pullsudo docker compose up -d
# Backup configurationsudo cp -r /data/safeline /backup/safeline-$(date +%Y%m%d)
# Monitor disk usage (logs can grow)sudo du -sh /data/safeline/
Network Architecture in My Homelab
Here’s how SafeLine fits into my network setup:
Internet → Cloudflare Tunnel → SafeLine WAF → Internal Services (Port 80/443) (Local Network)Key Benefits of This Setup:
- All web traffic filtered through SafeLine first
- Backend services completely isolated from direct internet access
- Centralized security policy management
- Easy SSL certificate management
Best Practices I’ve Learned
Security Recommendations
- Start with Monitor Mode: Test new services in monitor mode before enabling blocking
- Regular Rule Reviews: Check blocked requests weekly to fine-tune rules
- Keep Updated: SafeLine releases updates frequently with improved detection
- Backup Configurations: Export settings before major changes
- Test Protection: Use tools like OWASP ZAP to verify blocking effectiveness
Integration with Existing Security
SafeLine works excellently alongside my other security measures:
- fail2ban handles SSH and basic intrusion attempts
- SafeLine WAF protects web applications specifically
- UFW firewall provides network-level access control
- Tailscale VPN for secure remote access
Common Gotchas to Avoid
- Test configuration changes in monitor mode first
- Monitor resource usage - ML processing can be CPU-intensive
- Keep logs manageable - Set up log rotation to prevent disk space issues
Comparing Costs: Self-hosted vs Cloud
SafeLine (Self-hosted):
- One-time setup cost
- Your existing hardware resources
- Complete control and privacy
- No traffic limitations
- Up to 10 applications free
Commercial WAF Services:
- $10-100+ per month for equivalent protection
- Per-site or traffic-based pricing
- Limited customization options
- Vendor lock-in concerns
For my homelab protecting 6+ web services, SafeLine saves me hundreds of dollars annually while providing better control and privacy.
Conclusion
SafeLine WAF has become an indispensable part of my homelab security setup. The combination of AI-powered detection, easy management, and self-hosted control makes it perfect for protecting personal web services.
What I Love About SafeLine:
- Intelligent threat detection that actually works
- Minimal false positives compared to traditional WAFs
- Easy setup and management through web interface
- Self-hosted control with no ongoing costs
- Active development and growing community
The setup process is straightforward, the performance impact is negligible, and the protection effectiveness is impressive. If you’re running web services in your homelab, SafeLine provides enterprise-grade security that’s both accessible and powerful.
Have you tried SafeLine WAF in your homelab? What’s been your experience with self-hosted security solutions? I’m always curious to hear how others are protecting their web services. Share your thoughts in the comments below or reach out on Twitter ↗️ / Reddit ↗️.
Stay secure, and happy homelabbing! 🛡️